Step-by-Step: How to Resize and Compress Images Without Installing Software
Learn how to resize and compress images online without installing software. ZanyTools’ free browser-based tools help students, bloggers, and professionals save time while maintaining image quality.
Images are an essential part of digital content, whether you’re a student creating presentations, a blogger publishing articles, or a small business owner designing promotional material. However, large image files can slow down websites, take up storage, and make sharing difficult. Traditionally, resizing or compressing images required downloading software like Photoshop or GIMP. But thanks to online tools, these tasks can now be done quickly, efficiently, and without installing any software.
Platforms like ZanyTools offer browser-based image resizing and compression tools that save time, reduce file size, and maintain quality. In this guide, we’ll walk you through the science behind image compression, step-by-step methods to resize images online, and best practices for optimizing images for web or projects.
Why Image Resizing and Compression Matter
Before diving into tools and steps, let’s understand why resizing and compressing images is important:
- Faster Website Loading
Large images slow down websites, affecting user experience and SEO rankings. - Reduced Storage Usage
High-resolution images can occupy a lot of storage space, especially on shared drives or cloud platforms. - Easy Sharing
Compressed images are easier to upload, email, or send via messaging apps. - Improved Performance for Presentations
Smaller images help presentations run smoothly without lagging or freezing slides.
By using online tools, you can achieve the right balance between quality and file size, saving time and resources.
Understanding Image File Formats
Different image formats affect file size and quality:
- JPEG / JPG: Compressed format, great for photos, smaller file size
- PNG: Lossless compression, supports transparency, larger file size
- GIF: Animated images, limited color range, smaller size
- WebP: Modern format, excellent compression while maintaining quality
Choosing the right format is crucial when resizing or compressing images. For web use, JPEG or WebP are usually recommended.
Step 1: Choose a Reliable Online Tool
Several online platforms allow you to resize and compress images without installing software. For example:
Look for features like:
- Drag-and-drop image upload
- Multiple file format support
- Adjustable dimensions or compression level
- Real-time preview
Step 2: Upload Your Image
Most tools let you drag and drop or select files from your computer. Important tips:
- Upload the original, high-resolution image for best results
- Ensure your internet connection is stable to avoid upload interruptions
- For multiple images, use batch upload if supported
Step 3: Resize Your Image
Resizing changes the dimensions of an image (width x height) without significantly affecting quality.
- Step 3.1: Choose your preferred width and height
- Step 3.2: Maintain aspect ratio to avoid stretching or distortion
- Step 3.3: Preview the resized image to ensure clarity
Example:
- Original image: 4000 x 3000 pixels
- Resized for web: 1200 x 900 pixels
Tool Link:
Step 4: Compress the Image
Compression reduces the file size while retaining visual quality.
- Lossless compression: Keeps original quality, minor file size reduction
- Lossy compression: Reduces file size significantly, slight loss of quality
Steps:
- Choose compression level (low, medium, high)
- Preview the image to compare quality
- Download the compressed image
Compression is particularly useful for websites, emails, or cloud sharing where bandwidth and storage are limited.
Tool Link:
Step 5: Convert Image Formats if Needed
Sometimes resizing and compression aren’t enough. Converting to a more efficient format can further reduce size.
- Convert PNG to JPEG for photos
- Convert JPEG to WebP for modern web usage
Most online tools allow format conversion during compression, making the process seamless.
Step 6: Batch Processing for Multiple Images
For projects with many images, online tools often support batch resizing and compression:
- Upload multiple images at once
- Apply the same dimensions or compression settings to all
- Download all images together
This feature saves hours of manual work for students, bloggers, and designers.
Tips for Maintaining Image Quality
- Don’t over-compress: Excessive compression leads to blurry or pixelated images
- Keep original files: Always save a copy before resizing or compressing
- Check dimensions for your platform: Social media, web pages, or presentations may have different optimal sizes
- Use appropriate formats: PNG for graphics with text or transparency, JPEG/WebP for photos
Practical Uses for Students and Professionals
- Students: Compress lecture slides or assignment images for submission
- Bloggers & Webmasters: Optimize images for faster page load times and better SEO
- Small Businesses: Prepare product images for e-commerce without losing clarity
- Designers: Quickly adjust dimensions for mockups or presentations
Tool Link :
Common Mistakes to Avoid
- Resizing without keeping aspect ratio
- Compressing too aggressively, reducing quality
- Forgetting to convert large PNGs to JPEG or WebP
- Not testing images on different devices or browsers
Avoiding these mistakes ensures professional-quality images without unnecessary file size.
Advanced Features in Online Image Tools
Modern online tools, including ZanyTools, offer:
- Drag-and-drop interface for easy uploads
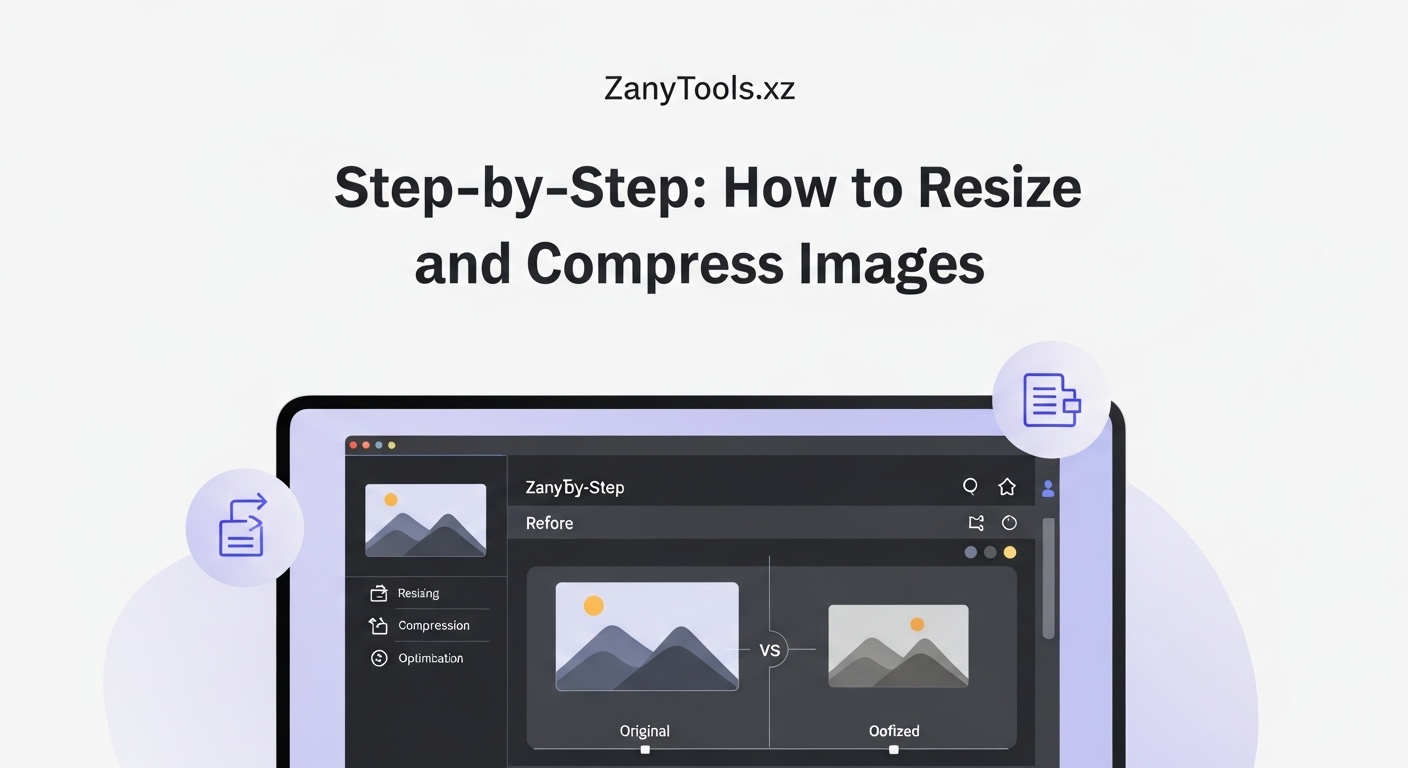
- Preview mode for side-by-side comparison of original and resized/compressed images
- Custom dimension presets for social media, presentations, or web use
- Batch processing for multiple files simultaneously
These features make online tools a must-have for anyone working with digital images.
Benefits of Using Browser-Based Tools
- No Installation Needed: Works directly in your browser
- Cross-Device Access: Use on laptops, tablets, or smartphones
- Free & Efficient: No paid software required
- Safe & Quick: Minimal risk of malware compared to installing unknown software
By using tools like ZanyTools, you save time, maintain image quality, and reduce storage issues.
Conclusion
Resizing and compressing images no longer requires complicated software or technical knowledge. With online tools like ZanyTools Image Resizer and Compressor, anyone can:
- Reduce file sizes
- Maintain high-quality visuals
- Optimize images for web, presentations, or sharing
- Save hours of work while improving efficiency
Whether you are a student submitting assignments, a blogger uploading content, or a professional preparing presentations, browser-based image tools make your workflow faster, easier, and more efficient.
Contact
Missing something?
Feel free to request missing tools or give some feedback using our contact form.
Contact Us